
We require you to have a laptop for the practical exercises. If you do not have one, or want to borrow one from us, please contact nina.norgren@scilifelab.se before the beginning of the course.
It is important to come prepared before the first lecture, in order to fully take advantage of the hands-on exercises, coming at a rather high pace.
We have the 4 following requirements:
- Install Python on your machine
- Install dependencies on your machine
- Make sure you have a proper text editor
- Check that the installation went fine, by running a given simple script,
How to install Python
IMPORTANT NOTE: A shortcut for Windows and Mac users is to simple install Anaconda as described further down. Anaconda comes with Python pre-installed. Otherwise, install as described here.
Please, choose to install the version 3.6.0 or above. The latest version available is 3.7.0
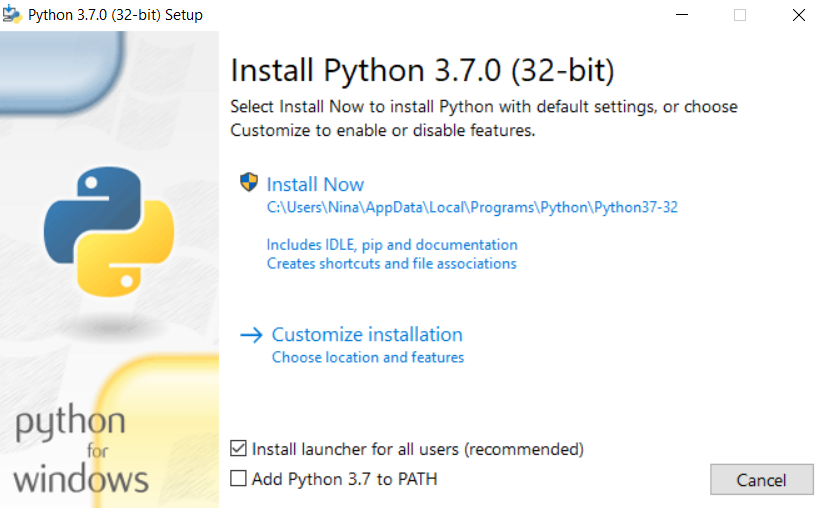
On Windows
Here are the installation steps on Windows. The installer should look like:
On Mac OS X
Since Mac OS X 10.8, Python 2.7 is pre-installed by Apple. This is an incompatible version with this course. You should instead download the installer for the version 3.7.0, double-click and follow the instructions.

More information can be found on docs.python.org/3.7
IMPORTANT NOTE: If you are not interested in a system-wide version of Python3, you can use
pyenvto easily switch between multiple versions of Python. You can install pyenv from GitHub. After installation, you can install version 3.7.0 by issuing the following command in your Terminal.$ pyenv install 3.7.0
On Linux/Unix
Using a package manager
Install Python3 and pip using your package manager. For Ubuntu and Debian, it goes like this:
sudo apt-get update
sudo apt-get install python3 python3-pip
Then use pip to install Jupyter (see below for more details), Biopython and other libraries that will be needed during the course:
pip3 install --user jupyter
pip3 install --user biopython
pip3 install --user pandas
pip3 install --user matplotlib
Installing from source
You can also install Python from source.
A note for Linux/Unix and Mac users
The command to run Python is python3. If you wish to be able to start Python by typing just python,
add the following line to the file ~/.bashrc (or ~/.bash_profile):
alias python=python3
How to install dependencies
Later in the course we will try out pandas and some plotting, so before that
we have to download those dependencies.
For Windows
Start by downloading and installing Anaconda if you don’t already have it installed.Anaconda is the easiest way to download and manage your python libraries.
Once you have downloaded Anaconda you can open up the Anaconda terminal, and from there use pip to install the following:
pip install pyreadline

pip install pandas

pip install matplotlib
pyreadline is a library specifically needed for Windows users, and is not required for Mac or Linux.
For Mac Os X and Unix/Linux users
Use pip to install pandas and matplotlib as shown above. If you also would like to download Anaconda,
feel free to do that, it is a very convenient package and environment manager not just for this course.
Using a proper Text Editor
We are going to type (a lot of) Python code, so you’d better have a good text editor. This is useful for several reasons: The text editor can highlight the Python keywords and handles the particulars regarding tabulations (which we will introduce in the course).

 If you are not the latter
kind, Sublime Text
or Atom are excellent cross-platform
alternative. You should probably customize it to your taste first.
If you are not the latter
kind, Sublime Text
or Atom are excellent cross-platform
alternative. You should probably customize it to your taste first.

Testing your installation
Start your favorite terminal and check the Python version. Type at the
prompt (ie where the $ sign is):
$ python3 --version
or start the python interpretor
$ python3
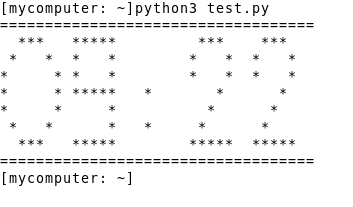
Running a test script
Download this test script (from the NBIS GitHub location for this instance of the course), and in your terminal, run
$ python3 test.py
…in the folder where the script resides. If this works fine, you should see the current time printed with “big digits” ;)
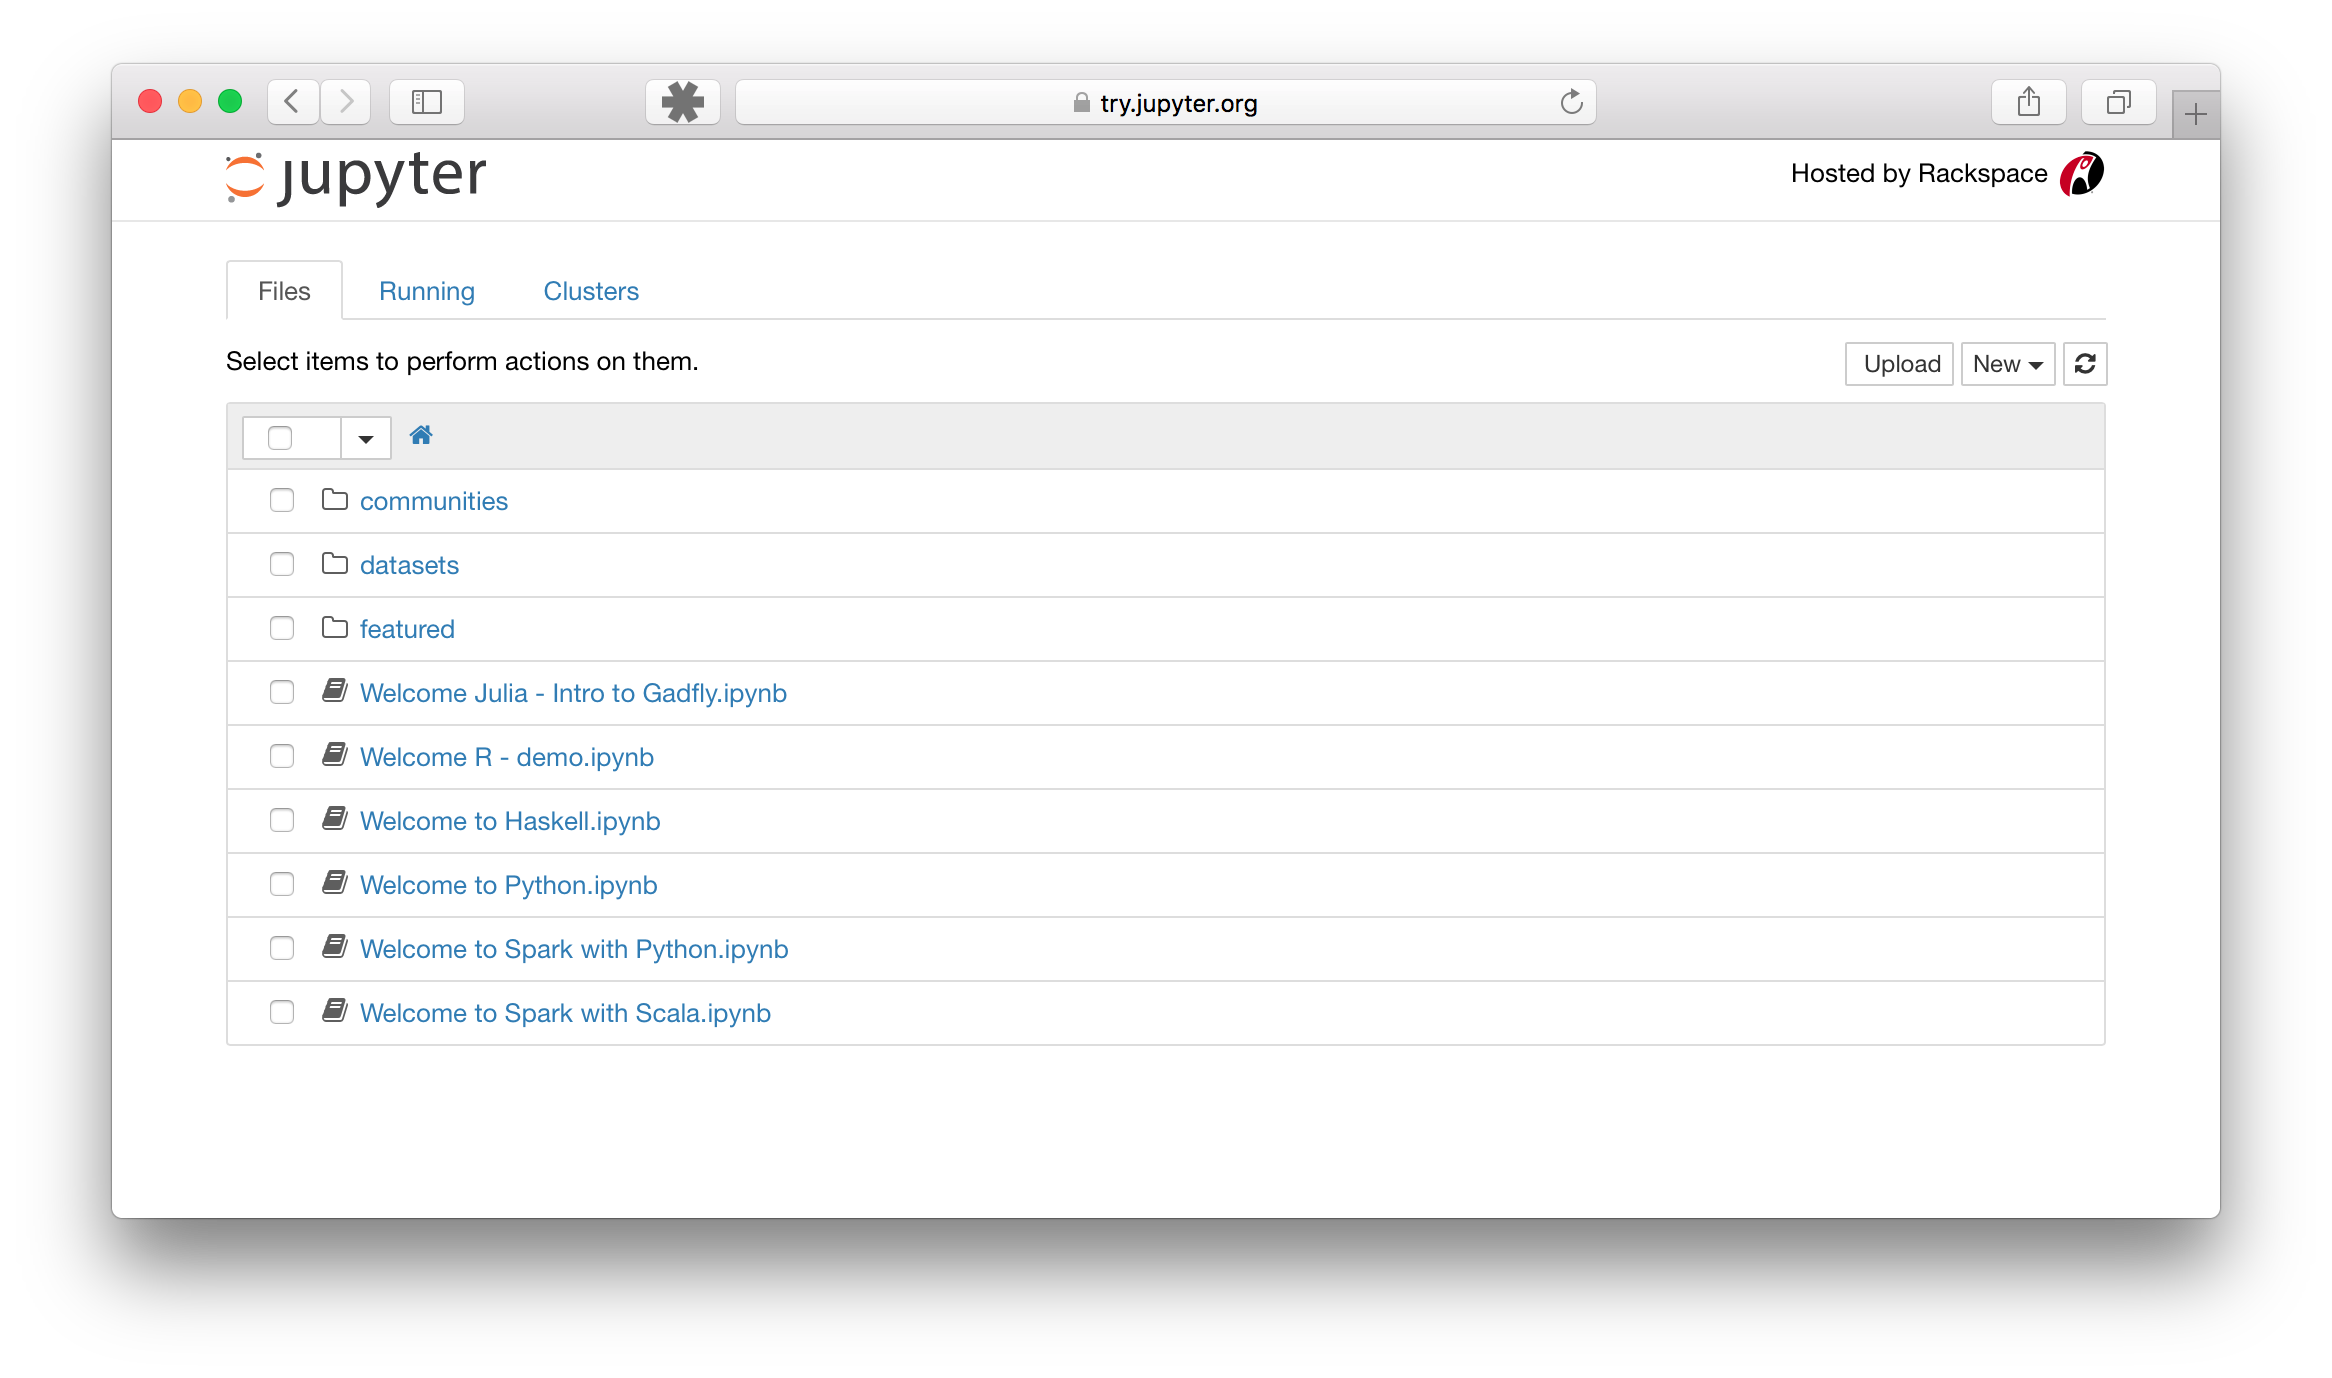
Jupyter notebooks
In the course, we will write Python code as standalone files. However, during the lecture, we will also use Jupyter Notebook. Jupyter is a web-based tool which allows us to evaluate our code line by line. The Jupyter files are called notebooks and will serve a single purpose in this course: a quick demonstration of Python code. It is therefore convenient, though optional, to install Jupyter in advance.
Impatient about the first lecture?
Whet your appetite on the Python tutorial or an informal introduction to Python.