In this tutorial, we will build a quarto website from scratch. It is assumed that you are in an environment with Quarto and R.
We will cover the following topics:
- Setup a quarto website project
- Website structure and pages
- Setting site configuration
- Setup and using GitHub for hosting
Refer to the official quarto documentation at https://quarto.org for help.
1 Github
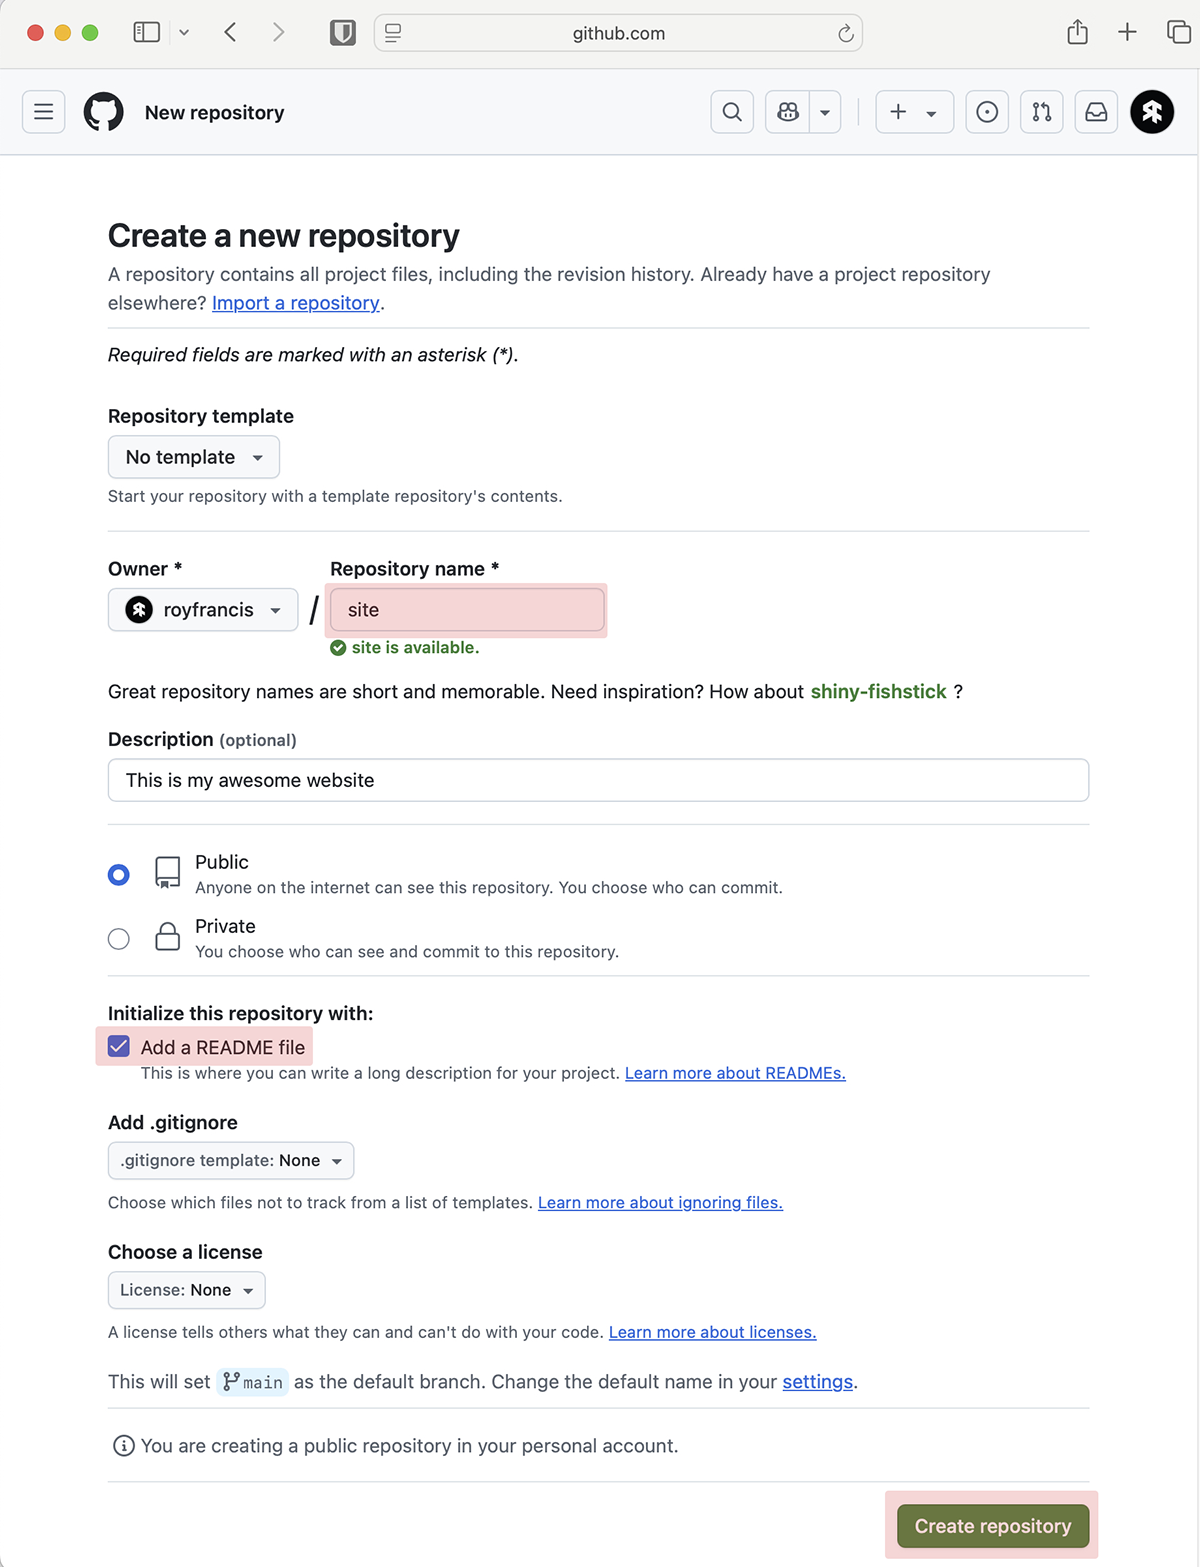
We will start by creating a GitHub repository to host our website. If you don’t have a GitHub account, create one now. Once you have an account, create a new repository. I will name it site. You can call it anything you like. Make sure to initialize it with a README file. Then copy the SSH URL of the repository for later use.
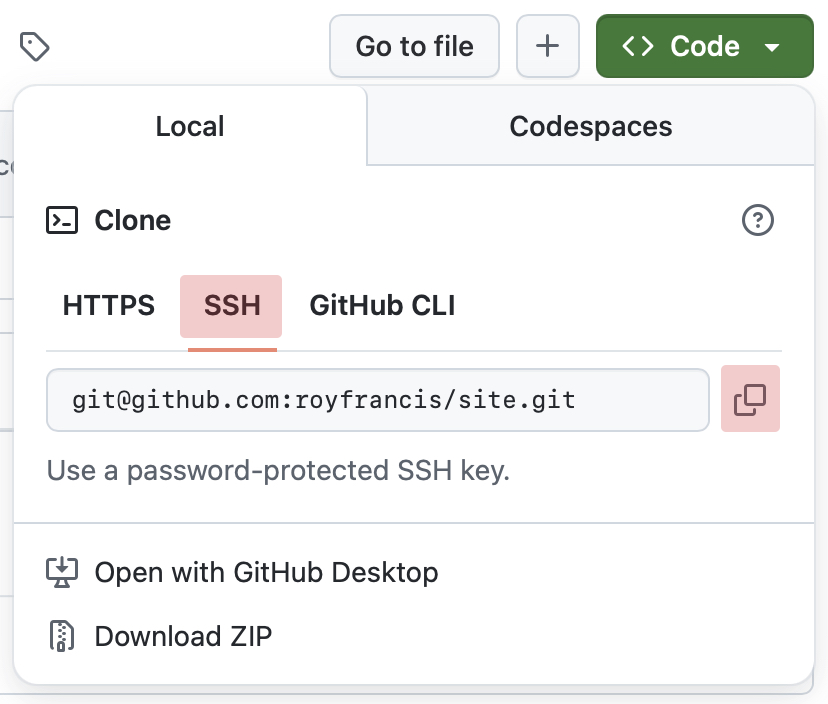
Open up the terminal and clone the repository to your local machine using the command:
git clone git@github.com:royfrancis/site.gitThis will create a new directory named site in your current working directory. Open this directory in your preferred code editor. We will be working in this directory for the rest of the tutorial.
2 Rendering a page
Create a file named
index.qmdand runquarto render index.qmd. This should create a blankindex.htmlfile in the same directory. This should confirm that quarto is working correctly.To test if R is working correctly, you can add a simple R code chunk in the
index.qmdfile and render again.```{r} Sys.Date() ```
3 Create a website project
- Create a file named
_quarto.ymlin the root of the directory and add the following content:
project:
type: website- Run
quarto render
We define that this is a project and that the project type is website. Notice that we do not specify any particular file to render which means it will render all the files in the project. All output files and assets are moved to the _site directory.
- We can change the default output directory by adding the following to the
_quarto.ymlfile:
project:
  type: website
  output-dir: docs
This will move all the output files to the docs directory instead of _site. This is useful if you want to host your website on GitHub Pages, as GitHub Pages serves files from the docs directory by default.
A quarto project can also be initialized using quarto create project.
Quarto project documentation can be found here.
4 Website settings
Now, let’s add some more settings to our website. Open the _quarto.yml file and add the following content:
website:
  title: Michelle Logan
  description: A website built with Quarto
  navbar:
    title: Michelle Logan
    left:
      - text: Home
        href: index.qmd
      - text: Blog
        href: blog/index.qmd
      - text: About
        href: about.qmd
  page-footer:
    left: © 2025 Michelle Logan
    right: Made with [Quarto](https://quarto.org)
This adds a navigation bar to the top of the website with a few menu items and a footer at the bottom.
Live preview the website by running quarto preview in the terminal. This will start a local server and open the website in your default web browser.
You can ignore the warning messages about missing files. We will create those files in the next steps.
Quarto website documentation can be found here.
5 About page
An About page is a great way to introduce yourself or your organization to the visitors of your website. It can include information about your background, interests, and the purpose of the website. Quarto makes it easy to create a simple about page using pre-made templates. The about option allows to have custom layouts and metadata for the about page.
Create an about.qmd file in the root directory of your project and add the following contents:
---
title: About
about:
template: solana
image: assets/images/profile.webp
links:
- icon: github
text: Github
href: https://github.com/mlogan
- icon: bluesky
text: Bluesky
href: https://bsky.app/profile/mlogan.dev
- icon: linkedin
text: LinkedIn
href: https://www.linkedin.com/in/michelle-logan-dev/
---
### **Hey!**
Thanks for stopping by!
I'm Michelle Logan, a software engineer and open source enthusiast. I work primarily with R and Python, focusing on data science and machine learning. I have a passion for building tools that make data analysis more accessible and efficient.
I love contributing to open source projects and collaborating with others in the tech community. My goal is to create software that not only solves problems but also inspires others to explore the world of programming.
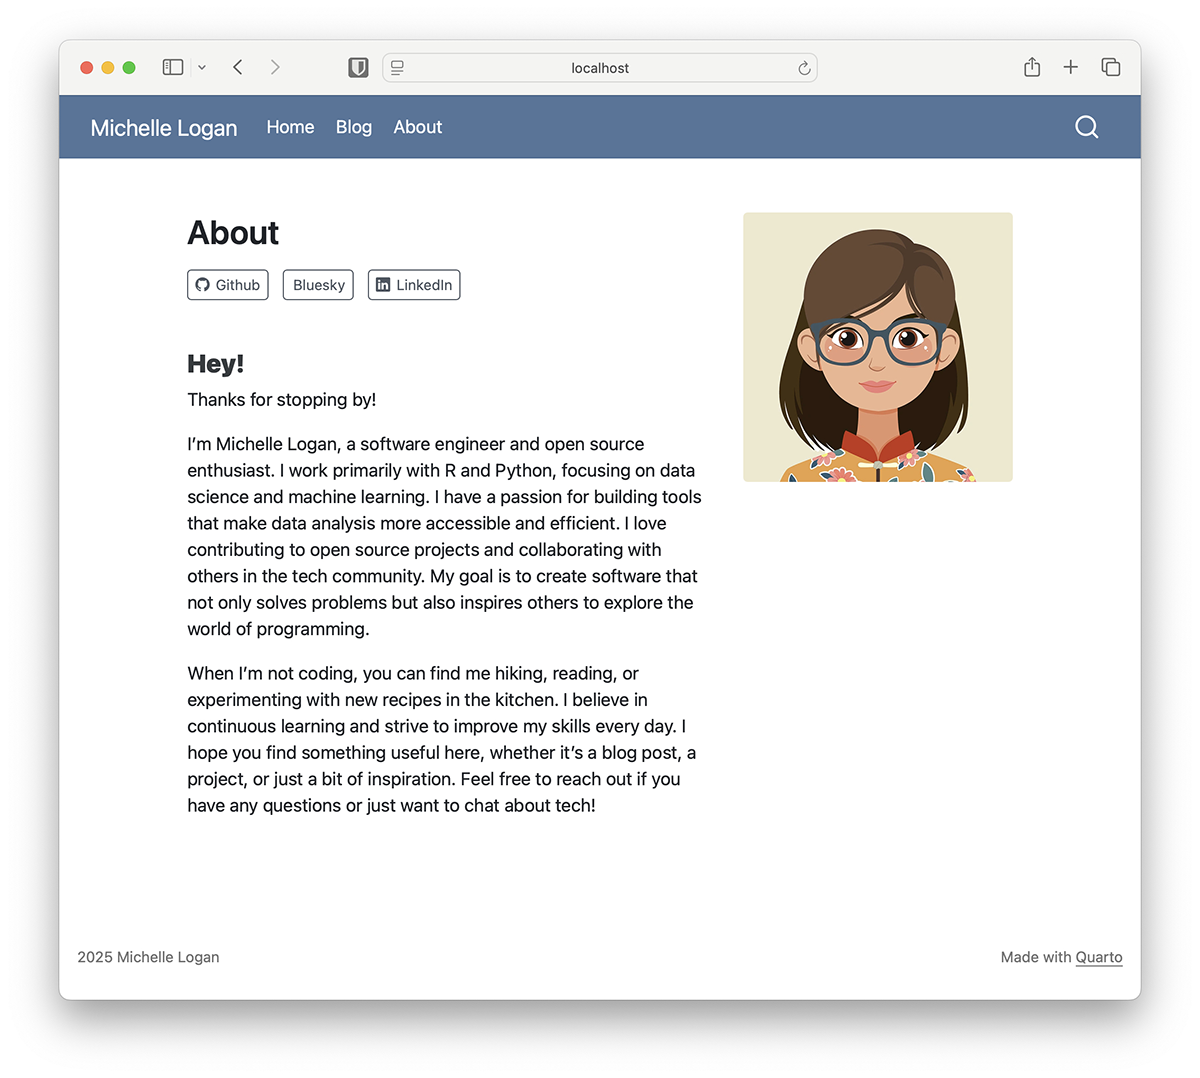
When I'm not coding, you can find me hiking, reading, or experimenting with new recipes in the kitchen. I believe in continuous learning and strive to improve my skills every day. I hope you find something useful here, whether it's a blog post, a project, or just a bit of inspiration. Feel free to reach out if you have any questions or just want to chat about tech!Create a directory named assets/images in the root directory of your project and add an image named profile.webp to it. This image will be used as the profile picture on the about page. If you don’t have an image, you can download this image:
If you have the live preview running, you should see the about page when you navigate to /about in your web browser.
The about page documentation can be found here.
6 Blog
A blog is a great way to share your thoughts, ideas, and projects with the world. Quarto makes it easy to create a blog with multiple posts, categories, and tags. You can also include images, code chunks, and other content in your blog posts.
Create a directory named blog in the root directory of your project. Blog posts are typically labelled by date and a short identifier. We will create two blog posts.
Inside the blog directory, create two directories named 2025-05-27-patchwork and 2025-05-30-arranging-quarto-images.
6.1 Post 1
In the folder named 2025-05-30-arranging-quarto-images, create a file named index.qmd and add the following content:
---
title: Arranging images in Quarto
subtitle: Arranging multiple images side by side in Quarto
author: Michelle Logan
date: 2025-05-30
categories:
- quarto
- images
slug: arranging-quarto-images
page-layout: article
image: featured.webp
---
Images can be arranged side by side in Quarto using the `columns` layout. Here's how you can do it:
```
::: {#fig-mylabel layout-ncol=2}


This is a common caption.
:::
```
::: {#fig-mylabel layout-ncol=2}


This is a common caption.
:::Add an image named featured.webp in the same directory. This image will be used as the featured image for the blog post. If you don’t have an image, you can download this image:
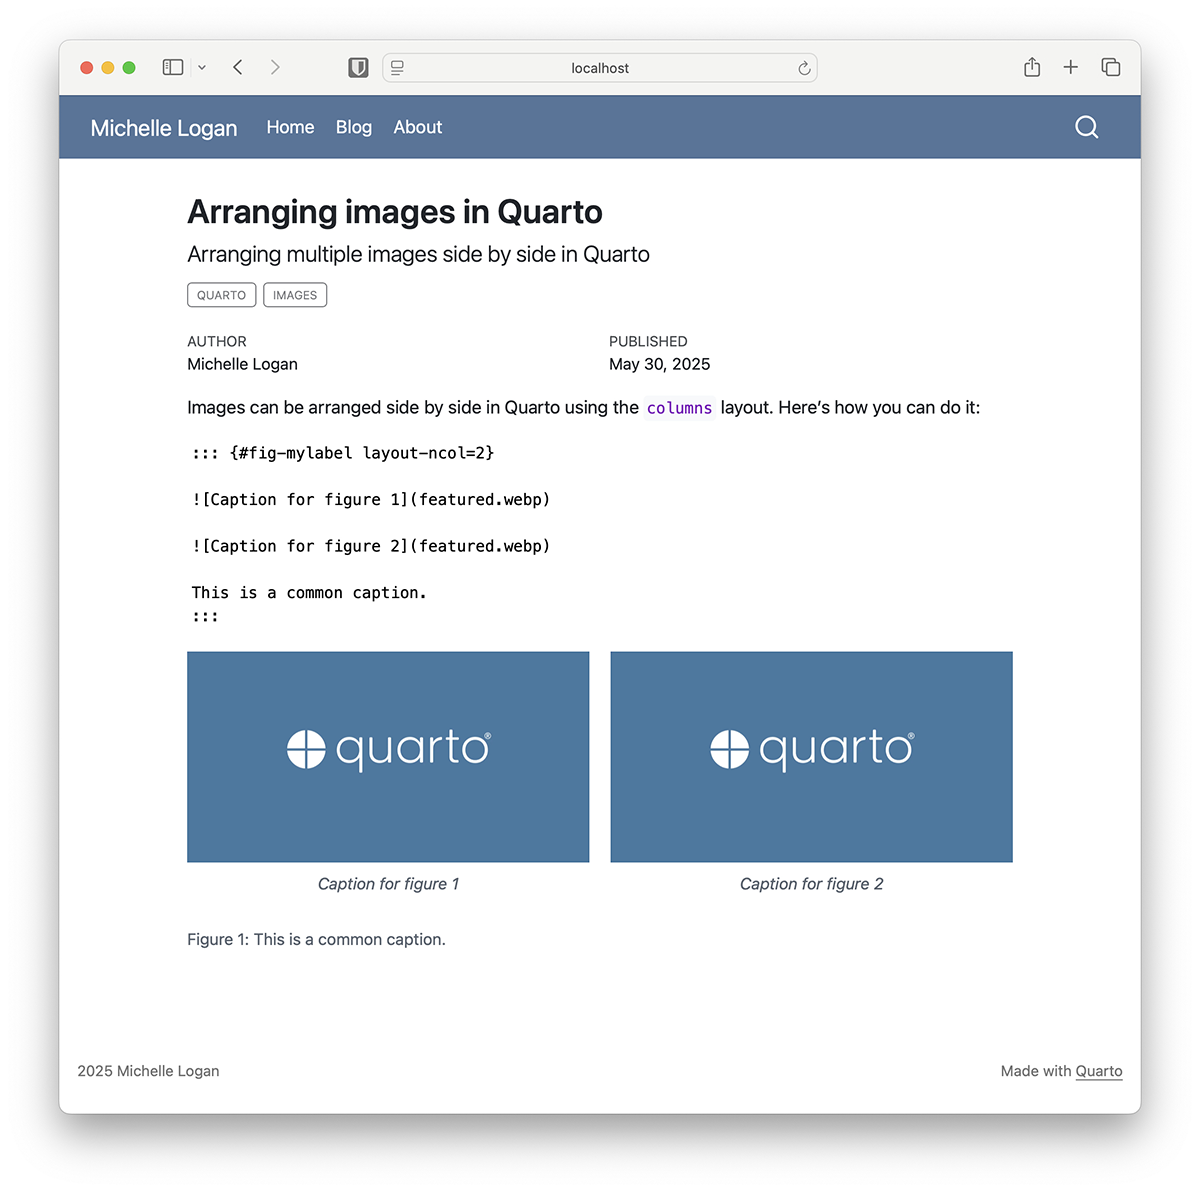
The post should look as above.
6.2 Post 2
Now, let’s create a post with executable R chunks. In the 2025-05-27-patchwork directory, create a file named index.qmd and add the following content:
---
title: Combining plots in ggplot2
subtitle: Arranging multiple ggplot2 plots side by side in R using patchwork
author: Michelle Logan
date: 2025-05-27
categories:
  - R
  - ggplot2
  - visualization
slug: patchwork
page-layout: article
image: featured.webp
---

We need to load the following R libraries:

```{r}
#| message: false
library(ggplot2)
library(patchwork)
library(dplyr)
```

Create two plots:

```{r}
p1 <- ggplot(iris, aes(x = Sepal.Length, y = Sepal.Width, color = Species)) +
  geom_point() +
  labs(title = "Sepal Length vs Sepal Width") +
  theme_minimal()

p2 <- ggplot(mtcars, aes(x = wt, y = mpg, color = factor(cyl))) +
  geom_point() +
  labs(title = "Weight vs MPG") +
  theme_minimal()
```

Now we can arrange the two plots side by side using the `patchwork` package:

```{r}
#| label: fig-side-side-plot
#| fig-height: 4
#| fig-width: 8
#| fig-cap: "Side by side plots using patchwork"
p1 + p2
```

You can also customize the layout further, for example by adding a common title or adjusting the spacing:

```{r}
#| label: fig-side-side-plot-1
#| fig-height: 4
#| fig-width: 8
#| fig-cap: "Common title"
(p1 + p2) +
  plot_layout(ncol = 2) +
  plot_annotation(title = "Side by Side Plots in ggplot2") +
  theme(plot.title = element_text(hjust = 0.5))
```

You can also position the plots one below the other:

```{r}
#| label: fig-top-bottom-plot
#| fig-height: 7
#| fig-width: 4
#| fig-cap: "Top and bottom plots using patchwork"
p1 / p2
```
Make sure that the listed R packages are installed in your R environment.
Add an image named featured.webp in the same directory. This image will be used as the featured image for the blog post. If you don’t have an image, you can download this image:
Blog documentation can be found here. Now that we have 2 blog posts, we can create a listing page to display them.
7 Listing page
A listing page is a page that lists multiple items, such as blog posts, publications, or projects. Create a listing page using the listing option in the YAML header of a .qmd file. Add a file named index.qmd in the folder blog. Add the following to the index.qmd file:
---
title: "Blog"
author: ""
listing:
  contents:
    - "*.qmd"
  type: default
  fields: [title, categories, date, image]
  sort: "date desc"
  image-height: 200px
format:
  html:
    page-layout: full
---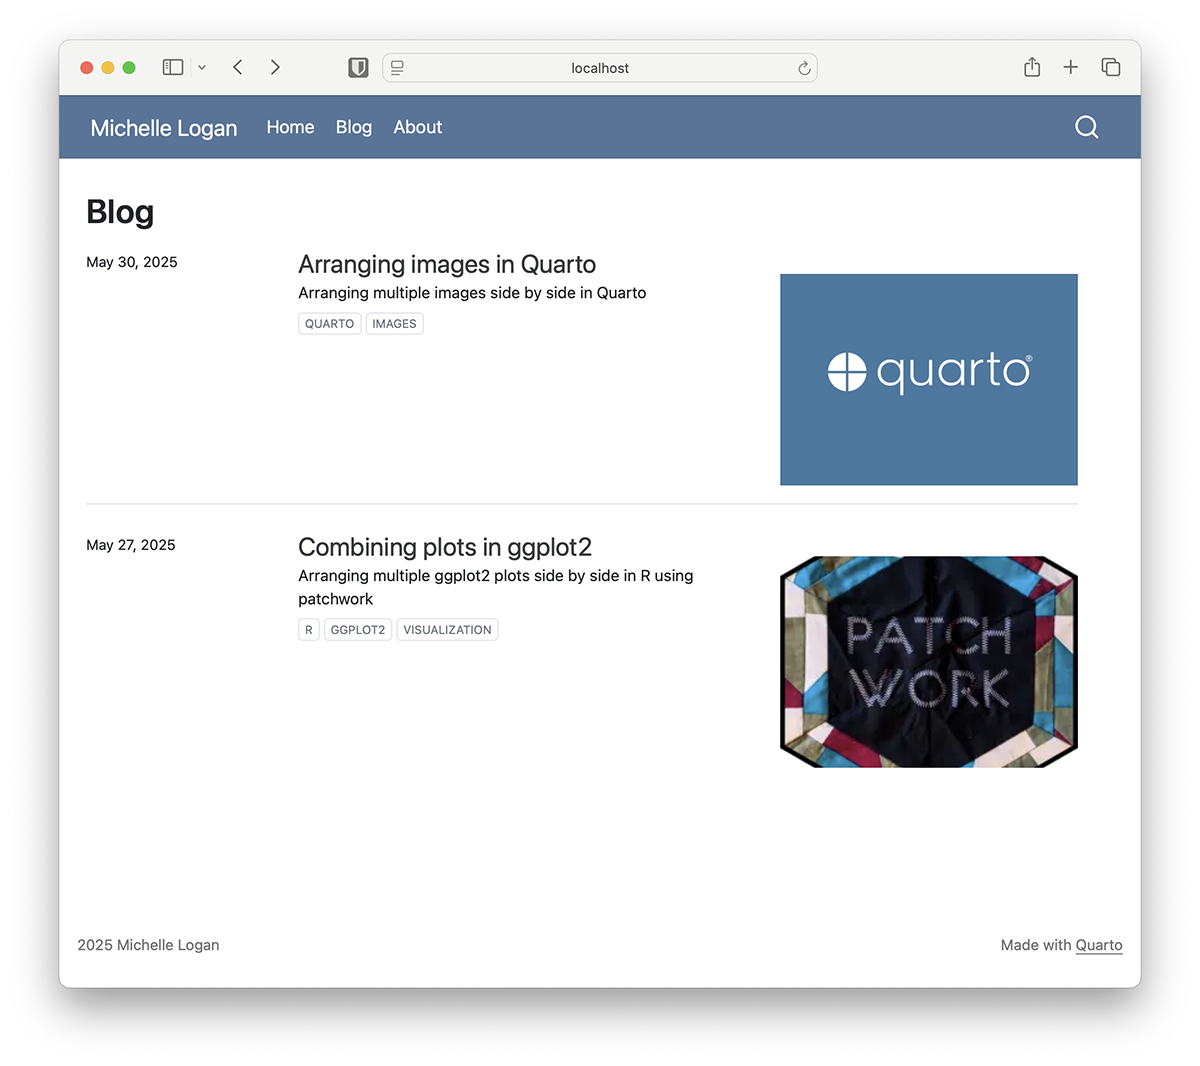
You can control which pages are listed here and how the information is displayed.
Listing documentation can be found here.
8 Home
The index.qmd file in the root directory of your project is the home page of your website. You can add any content you want to this page. You can a image and a description, or you can add a list of recent blog posts, publications etc.
We will create a simple home page with a welcome message and a list of recent blog posts. I will use an from freepik.com as a hero image. You can download this image:
---
pagetitle: Home
title: "Michelle Logan"
subtitle: "Welcome to Michelle's world of code!"
image: assets/images/hero.webp

about:
  template: solana
  image-width: 25em
  id: hero-heading

listing:
- id: blog-preview
  contents:
    - blog/*/*.qmd
  sort: false
  type: grid
  grid-columns: 3
  max-items: 3
  image-height: 150px
  fields: [image, title]
  categories: false
  sort-ui: false
  filter-ui: false
  feed: false
page-layout: full
---

::: { #hero-heading }

This is my personal space where I share my thoughts, projects, and experiences in the world of software development. You can find my latest blog posts, projects, and more about me here.
I'm passionate about open source, data science, and machine learning. I love building tools that make data analysis more accessible and efficient. Feel free to explore my work and connect with me on social media!

[[**About me >**]{.btn .btn-primary .btn-md}](about.qmd)

:::

## Latest Blog Posts

:::{ #blog-preview }
:::
We are making use of about page template to create a hero section with a heading and an image. We are also creating a listing of the latest blog posts in a grid format.
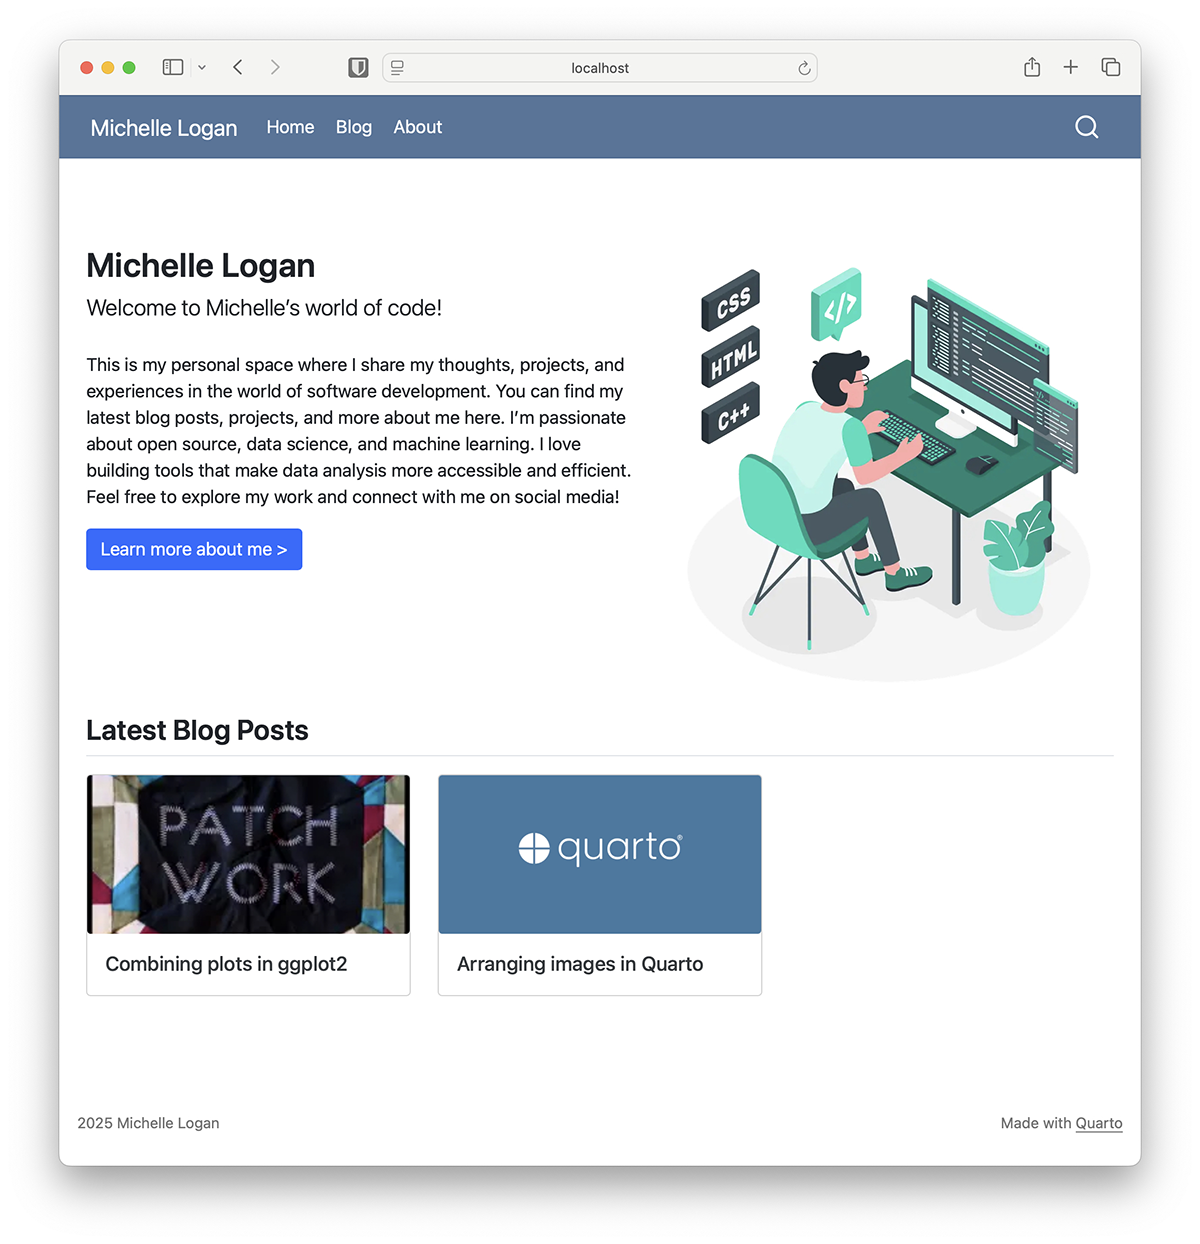
The home page should look like below:
9 Styling
We need to change the default colors, fonts and more to make the website truly ours.
9.1 Bootswatch
One option is to use a pre-made theme from Bootswatch. Bootswatch provides free themes for Bootstrap, which can be easily integrated into Quarto websites. Quarto supports Bootswatch themes out of the box, so we can easily change the look and feel of our website without writing any custom CSS. You can find the list of available themes here.
To use a Bootswatch theme, we need to specify it in the _quarto.yml file. You can pick one like pulse for example and add it to the _quarto.yml file:
format:
  html:
    theme: pulse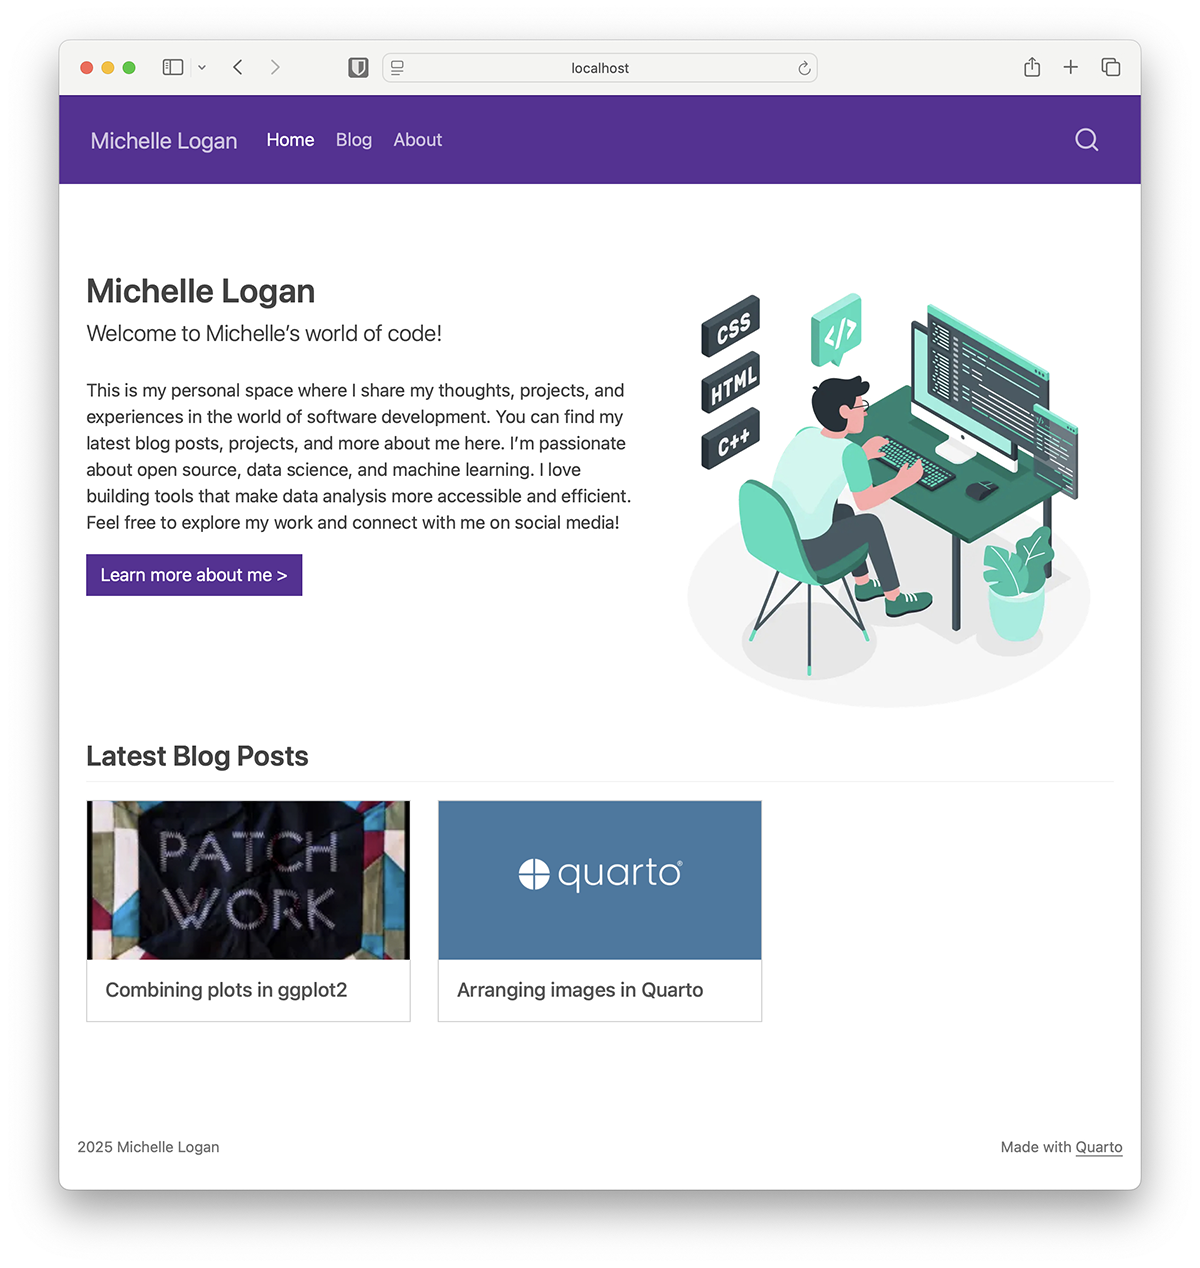
HTML theming is documented here.
9.2 brand.yml
A relatively recent development in Quarto is the ability to customize the theme using a _brand.yml file. This allows us to define our own colors, fonts, and other styles for the website without having to write custom CSS.
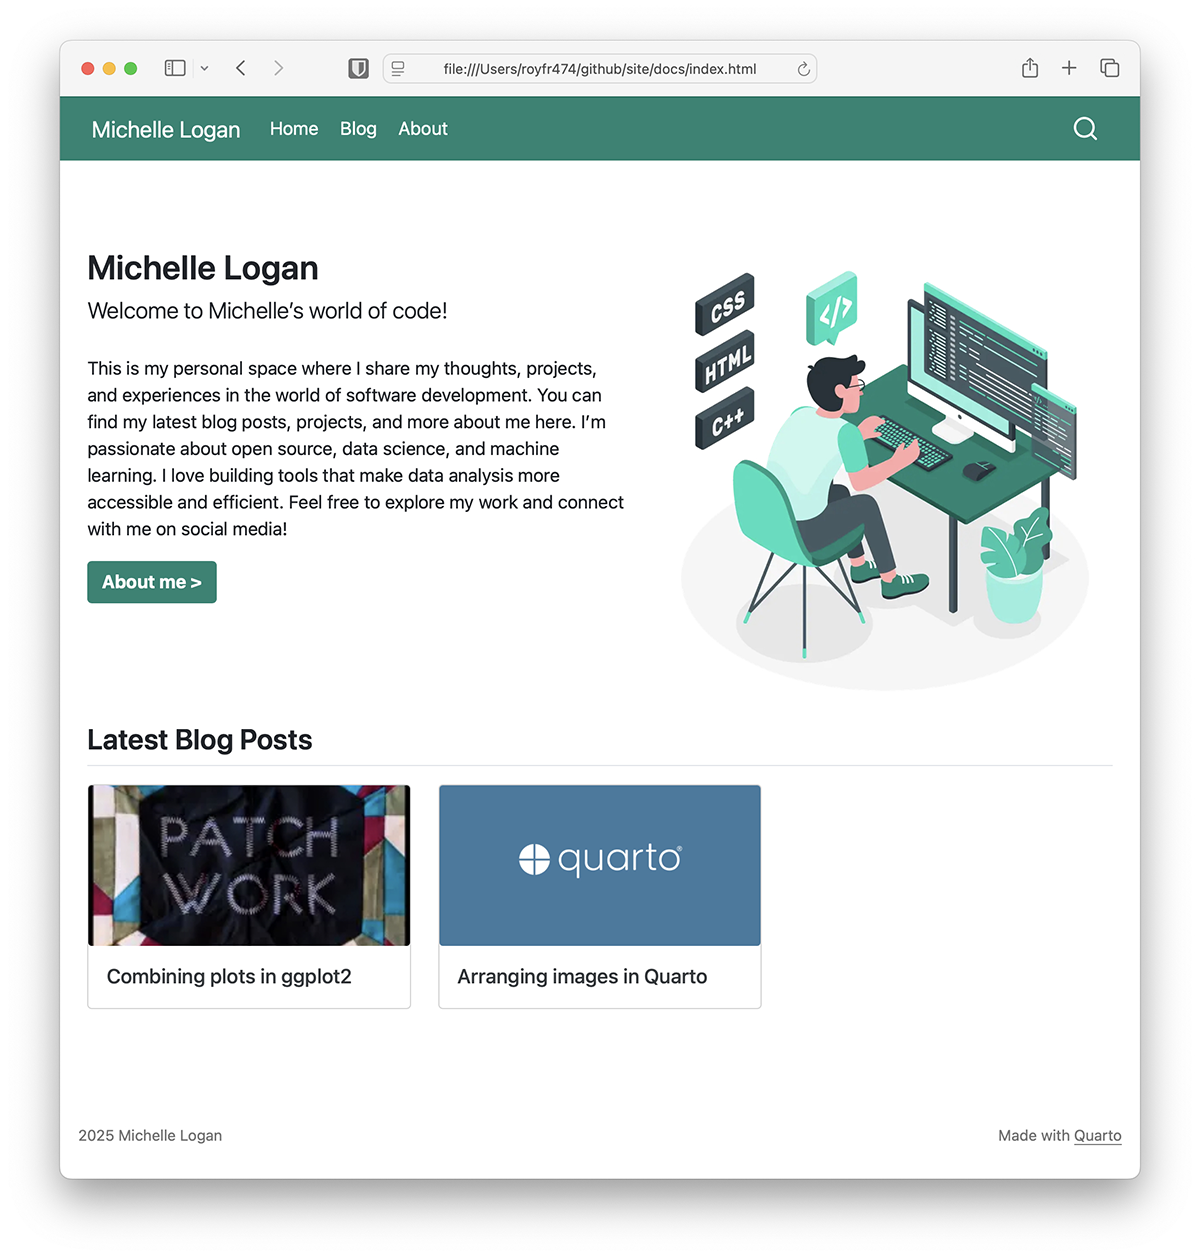
Create a file named _brand.yml in the root directory of your project. We are going to use the colors from the hero image for our website. We are also going specify some custom google fonts. Add the following content to _brand.yml.
color:
  primary: "#178474"
  secondary: "#5ca89d"
  tertiary: "#c9f8ef"
typography:
  fonts:
    - family: Open Sans
      source: google
    - family: Roboto Slab
      source: google
    - family: Fira Code
      source: google
Branding using _brand.yml is documented here.
You can add more sections, pages and content to your website as needed. You can also customize the navigation bar, footer, and other elements of the website. Refer to the Quarto documentation for more information on how to do this.
You can exit from quarto preview at this point by pressing Ctrl + C in the terminal.
10 Freezing compute
Quarto has the ability to freeze the output of compute chunks, which means that the code chunks in the website will not be executed when re-rendering the website. This is useful if you want to share the website with others without the tools & environment or if you want to avoid running code that takes a long time to execute.
To enable freeze, add the following to the _quarto.yml file:
execute:
  freeze: true
Run quarto render to render the whole website. This will create a _freeze directory in the root of the project, which contains the frozen code chunks. If you rerun quarto render, you will notice that that R code chunks are not executed. The frozen code chunks are used instead of executing the code again.
11 Version control
What you commit and push to the remote repository (GitHub) depends on exactly how you deploy. You can either use quarto publish or manually push the rendered materials. This is covered in the next section.
11.1 Using publish
Follow this if you plan to use quarto publish to deploy your website. This is the easier option. Add docs directory to the .gitignore file so that it is not pushed to the remote repository. Create a file named .gitignore in the root directory of your project and add the following content:
docs/Commit the changes to the repository:
git add .
git commit -m "Added website files"
git push origin
11.2 Manually
Follow this if you plan to manually push the rendered materials to the remote repository. This is a little bit more involved.
Commit all changes to the repository:
git add .
git commit -m "Added website files"
git push origin
This will push the changes to the remote repository on GitHub.
12 Hosting
GitHub Pages is a free service provided by GitHub that allows you to host static websites directly from your GitHub repository. Since we starting this exercise with a GitHub repository, we can easily deploy our website to GitHub Pages.
12.1 Using publish
Quarto has a built-in tool to publish websites to GitHub Pages. This tool will automatically create a gh-pages branch in your repository and push the contents of the docs directory to that branch.
quarto publish gh-pagesGive it a minute or two for the website to be deployed. Your website should then be live at https://<your-username>.github.io/<repository-name>/. For example, if your GitHub username is royfrancis and the repository name is site, the website will be available at https://royfrancis.github.io/site/.
12.2 Manually
Alternatively, you can manually set up GitHub Pages by pushing materials to the main branch of your repository. This was done in the previous step.
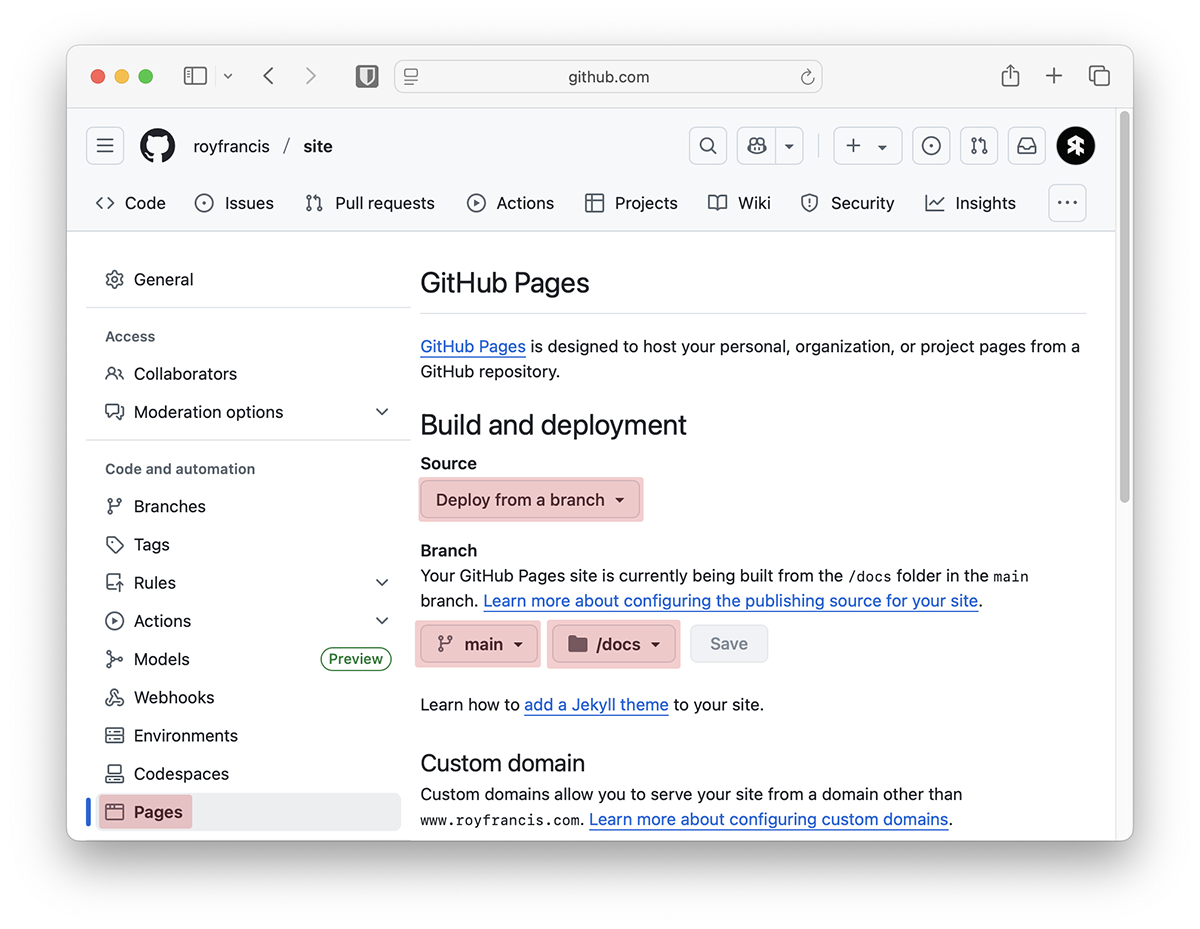
We need to make sure that the docs directory is set as the source for GitHub Pages. Go to the settings of your repository on GitHub, scroll down to the “Pages” section, and select the docs directory as the source. Then click “Save”. This will enable GitHub Pages for your repository and set the docs directory as the source for the website.
Give it a minute or two for the website to be deployed. Your website should then be live at https://<your-username>.github.io/<repository-name>/. For example, if your GitHub username is royfrancis and the repository name is site, the website will be available at https://royfrancis.github.io/site/.
13 Example websites
Here are some example websites built using Quarto. These websites vary in complexity and style, so you can find something that inspires you.
13.1 Simple
Elizabeth McDaniel Dan Yavorsky Kelly Sovacool Simon Couch Katherine Hayes Katherine Hoffman Beatriz Milz Emil Hvitfeldt Thomas Mock Alex Hayes Jesse Sadler Fabrício Almeida-Silva Cynthia Huang Megan Harris Javier Orraca-deatcu Isabella Velásquez Joel Nitta Daniel Navarro Zeki Akyol Ben Ewing Introduction to Nonprofits Bioconductor community blog Journal of visualization & Interaction
13.2 Intermediate
13.3 Advanced
14 Learning more
In addition to the official Quarto documentation, there are many resources available online to learn more about Quarto and how to build websites with it. Here are some resources that you might find helpful: